 1")
Unleash Prosperity & Good Luck: 9 Koi Fish Meanings in Feng Shui Paintings (With Images!)
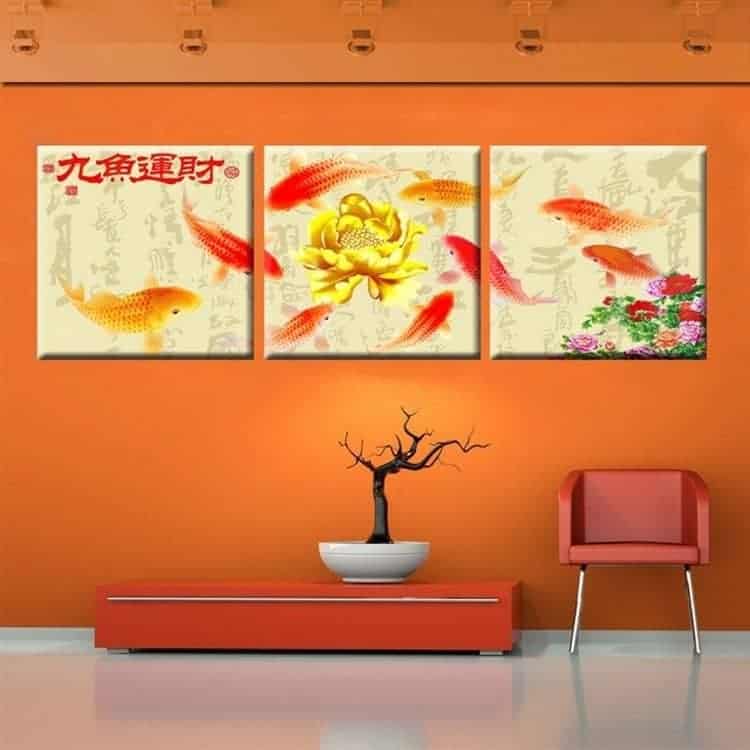
Unraveling the Symbolism: Exploring the World of 9 koi fish meaning ???? 9 koi fish meaning, Koi fish, with their vibrant colors and graceful movements, have captivated the hearts and minds of people for centuries. From ancient mythologies to modern art, these mesmerizing creatures hold significant meanings in various cultures around the world. Let’s embark […]


